In a world driven by technology, the idea of building your own computer can be both exciting and intimidating. The thought of selecting each component and assembling them into a fully functional machine may seem like a daunting task, especially for beginners. Fear not! This comprehensive guide will take you through the step-by-step process of building a computer, empowering you to create a custom rig tailored to your needs.
Understanding the Basics
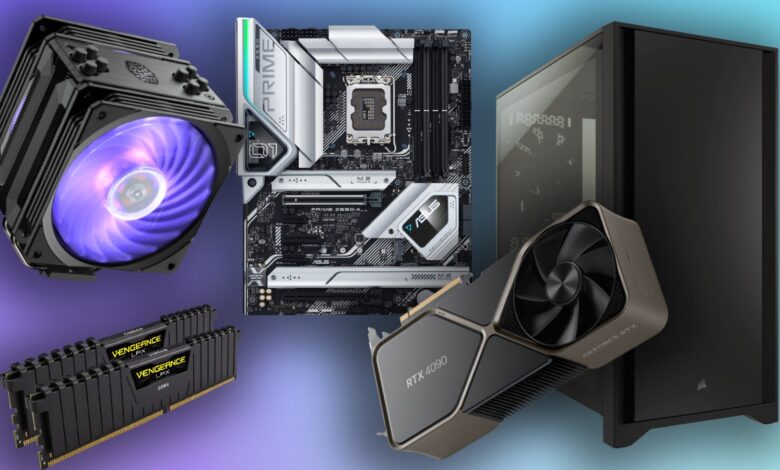
Before delving into the nitty-gritty details, let’s start with the basics. Building a computer involves assembling various components, including the central processing unit (CPU), motherboard, graphics card, memory (RAM), storage, power supply, and cooling system. Understanding the purpose and function of each part is crucial for a successful build.
Planning Your Build
1. Define Your Purpose
Begin by determining the primary use of your computer. Whether it’s gaming, content creation, or general productivity, knowing your purpose will guide your component selection.
2. Set a Budget
Building a computer offers a range of options for every budget. Establishing a budget will help you make informed decisions when selecting components without overspending.
3. Choose the Right Components
Selecting compatible components is key. Ensure that your CPU is compatible with your motherboard, and choose a graphics card that suits your performance needs. Don’t forget about sufficient RAM and storage capacity.
Step-by-Step Assembly Guide
4. Prepare Your Workspace
Create a clean, well-lit workspace with ample room to spread out components. Use an anti-static wrist strap to prevent static discharge that could damage sensitive parts.
5. Install the CPU
Handle the CPU with care, align the notches, and gently secure it in the CPU socket. Apply thermal paste and attach the cooling system.
6. Mount the Motherboard
Place the motherboard in the case and secure it using screws. Connect the power supply, ensuring compatibility with your motherboard.
7. Install RAM and Storage
Insert the RAM sticks into the designated slots, applying gentle pressure until they click into place. Connect your storage devices, whether it’s an SSD or HDD, to the motherboard.
8. Install the Graphics Card
If you have a dedicated graphics card, carefully insert it into the PCI Express slot on the motherboard. Secure it with screws to prevent sagging.
9. Cable Management
Neat cable management not only looks aesthetically pleasing but also improves airflow. Use cable ties to bundle and organize cables, preventing tangling and enhancing system cooling.
10. Power On and Test
Connect your peripherals, double-check all connections, and power on your newly assembled computer. Enter the BIOS to ensure all components are recognized.
Conclusion
Congratulations! You’ve successfully built your own computer, tailored to your specific needs and preferences. By following this comprehensive guide, you’ve not only saved money but also gained valuable insights into the inner workings of a computer. Remember, building a computer is a rewarding experience that allows you to unleash your creativity and customize your computing powerhouse. Embrace the journey of discovery, and happy computing!